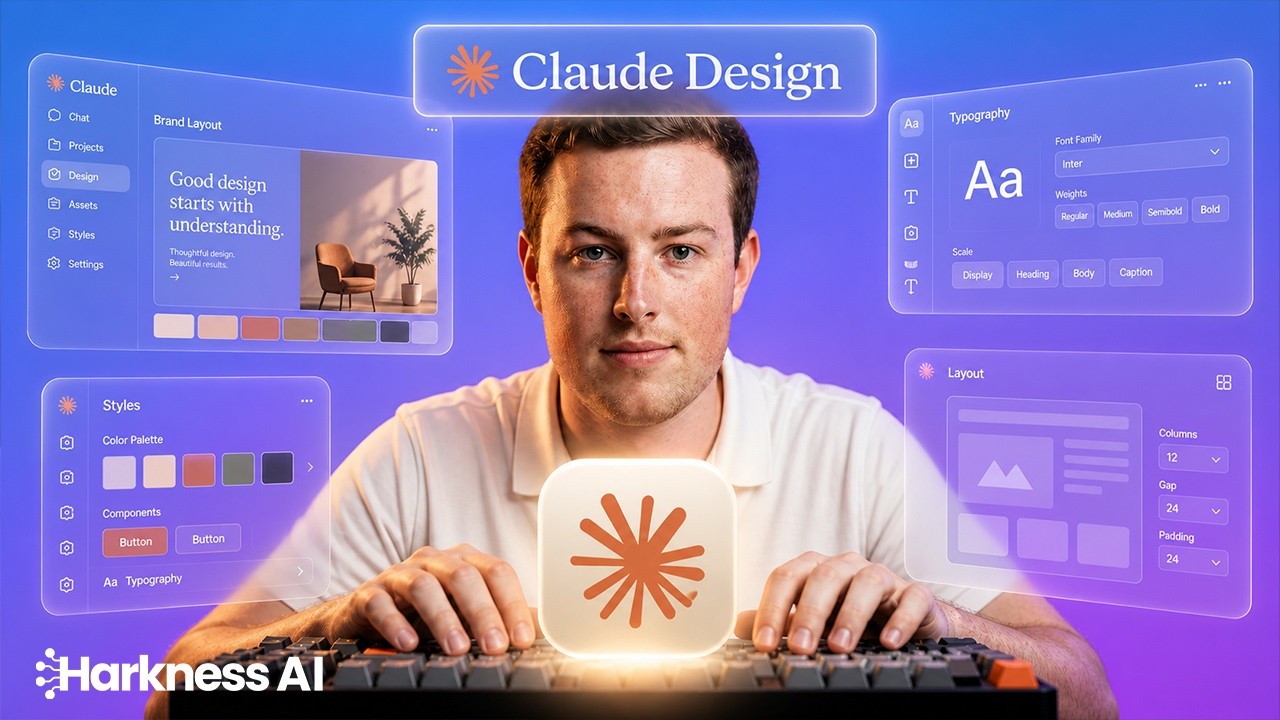
Creating social media content can be huge for a business - new leads, plus eyes on your brand - but most of us don’t come from a marketing background, and finding the time to come up with ideas, film, and post is genuinely hard. Claude Design changed that for me. It can generate stunning animations in your brand’s own colours and theme, which means I can create content really quickly. Here’s exactly how I do it.
What I use it for
I post educational AI content on social media, so I use Claude Design to generate animations that explain different AI concepts, then I talk over the top of them. One example: did you know that when you use AI, you’re actually paying for tokens? When you send a message to ChatGPT, it breaks your text down not into the words you see, but into chunks called tokens, roughly four characters each. That whole animation was generated from Claude. All I do is record over what I’m seeing on my phone and post it - quick, easy content.
What you need
All you need is a Claude subscription, which comes in at around NZ$40 a month. On the desktop app or browser, click Design in the bottom left - it’s currently in beta, having recently launched. The idea is you load in a design system: your website, logos, branded images, fonts, colours, theme, and any other context around your brand. From there you can create outputs that stay within your branding, from landing page prototypes and slideshows to wireframes and, what I’m covering here, animation videos.
Step one: build your design system
Go into Design and click create a new one. If you’re in Claude Code with your brand design already set up there, you can pull from that. Otherwise, use the create flow, which asks you for:
- Company name and blurb - a short description of what your business does.
- Your website code (if you have it) or a link to your site.
- Figma design files, if you have any.
- Fonts, logos and assets - drag these straight in.
If you can’t supply files directly, just give it notes instead: your colours, theme, the feeling you’re going for, and any documents or references it can pull from. Claude Design can also read your website directly, so between that and your logos it can build a genuinely close match to your brand. Click continue to generation - it takes about five minutes to build the design system.
Step two: come up with content ideas
While that’s generating, jump back into a normal Claude chat and ask it to help you come up with ideas for short-form explainers about your business. The more you’ve already told Claude about who you are, who your clients are, and what your social media looks like, the better the ideas will be. A good tip: if customers keep asking you the same questions, turn those into content - a lot of other people are searching for the same answers online, and that kind of content tends to do well. Scroll through what Claude gives you, pick the ones you like, and copy them across.
When the design system finishes, open it up and check it over - you’ll see it’s pulled in your personality, logos, colours, buttons, fonts, and bits from your website. Edit anything that’s off. Every new asset you generate from here on will use this design system.
Step three: generate the animation
Back in Design, go to Projects, make sure your design system is selected, then go totemplate and choose create an animation video. Claude Design is actually generating JavaScript behind the scenes to build the animation - it doesn’t export a video file directly, so you’ll need a converter for that (more below). Copy the starter prompt it gives you so the output stays in a format the converter can read, then add your own brief on the end - what the video is about and which brand it’s for. Tick animation and hit go.
One thing I got wrong the first time: I didn’t specify the format, so it came out horizontal instead of vertical. Make sure you say explicitly whether you want it for TikTok or Instagram short-form, or for YouTube long-form. Once it’s done generating, you can press play and preview it right there - complete with your own buttons, fonts and UI pulled straight from your brand.
Step four: export it as a video
To turn the JavaScript animation into an actual video file, click share, then export project archive as a zip, and download it. Head over to a converter site - I use one called Claude to Video - click to upload, browse to your downloaded zip, and pass it through. You can choose settings like 60fps and 1080p, and whether to keep the watermark. If you’re using Claude Code, you can get it to handle this rendering step for you instead. Once it’s done, download it and post it anywhere - straight up, with music, a voiceover, or a talking-head layer on top. It’s all yours to edit further if you want.
Batch it
Generating one video is already fast, but the real value is generating several at once. Ask Claude for a handful of video ideas, get it to turn them into a prompt for Claude Design, and pass that through - Claude Design will generate them all together rather than one at a time. That’s how I batch-create content instead of doing it video by video.
Where this is heading
This is the worst AI will ever be at this - it’s moving fast, and these tools are getting real capability upgrades constantly. It gets you maybe 80% of the way there today, but who knows when the next 10 or 20% lands. I’ve already seen people connect it directly to an ElevenLabs API with a clone of their own voice for automatic voiceovers, and others using HeyGen for a full video clone of themselves speaking, automating the whole pipeline. There are a lot of levels to this - the best thing you can do is get in and start playing around to find what’s useful for your business.
I’m Blake, an AI engineer based in New Zealand who has helped over 20 businesses with their AI implementation, getting real results in time savings. If you’re not sure where to start, schedule a free 30-minute chat. Cheers.
If you’d rather learn Claude hands-on, our Claude training in New Zealand is a half day where you set it up against your own work. The rest of the content system - one recording into a week of posts, on-brand designs, and what the posting data actually says - is on the AI for content and social hub.